Final typography tutorial 


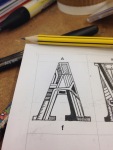
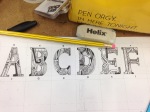
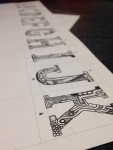
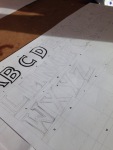
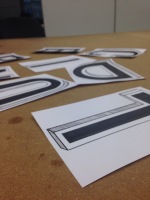
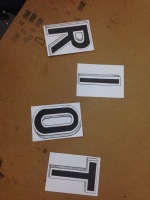
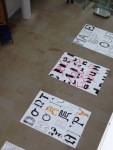
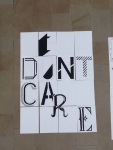
For our final typography tutorial with Nick we were instructed to recreate our text ideas to a large scale for display in the creative arts building. We used markers and paint to recreate the designs in the studio then we took them to the bottom of the Creative Arts building to be photographed from the upper floors. This was a good practice as it allowed us to practice on making larger scale versions of original works by using proportion and care, and the end result looked interesting when displayed on the Creative Arts floor.

Experimental typeface

Extending from the typography workshops I decided to create my own typeface, which I constructed as a drawn piece using individual objects. I completed the drawing using a 0.1 fineliner and pencil to sketch the shape of the letter. This type is intended to be a display text which I drew to practice and experiment with drawing.

Manual type workshop


In Monday’s workshop we completed a session creating our own handmade type. This was similar to our previous workshops with Nick, however we were instructed to sketch a full typeface using the grid provided. I experimented with sketching lettering designs and colouring the letters, and I then defined the type by enlarging the letters using the detailed grid. i used pencil and fine liner to construct my letters.

Typography – creating a type piece

Here is a typeface piece I created which is extended from the work I did previously. I used pencil to sketch out each letter on an A5 piece of paper and I used fineliner to shade and print the lettering. I then used promarker to colour the middle of the letters. Once I was done I attempted to make different quotes with my lettering using the white  boards in the studio. I really enjoyed this lesson as hand drawn type is something I enjoy doing, and I was happy to spend time in the studio getting it perfect.