In my final tutorial for animation I created a showreel which displayed all the animation pieces I have created throughout the year. I found my animation tutorials challenging however I have learnt a lot of skills throughout the year that I didn’t learn in the first year of study. To create my showreel I used After Effects, and I imported all my videos into the same compilation. I transitioned them together using the presets and text to introduce my different films. I felt I created a successful video to showcase my work which displays my year learning new skills.
Category Archives: Animation – Sarah
Text Drawing
Animation – Huddersfield Infographic
For the lesson on Wednesday 18th February we were instructed to create a short 10 second info graphic advertising facts about Huddersfield University. The ten second videos will be compiled as a class and displayed on a large projection on the side of the building.
I used after effects to create this short clip; I created my shapes in Adobe Illustrator and imported these into two composition files. I compiled these at the end and added animation presets and changed the position and rotation to animate my shapes on and off the screen. Once finished I rendered the piece and sent it to a file on the university server, in which my video will be used to display as part of the animation.
After Effects 3D Cameras
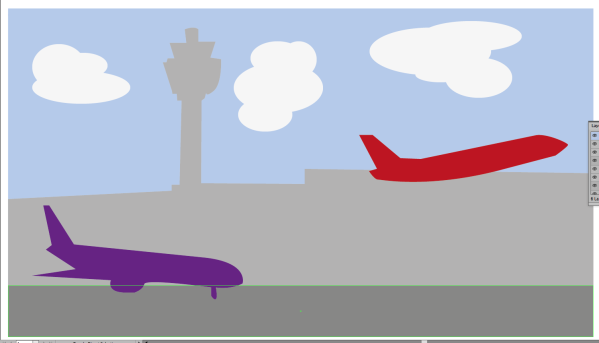
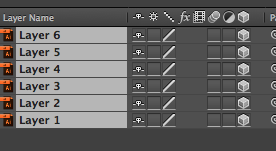
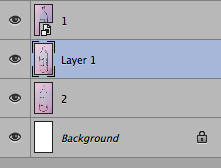
To start off this tutorial we had to first create an image in Illustrator with 6-8 layers, each element of the layer being a different colour.
I then extended the workspace and imported this into AfterEffects. I changed the composition so that it was smaller than the original artwork, and that the composition time was 10 seconds long.
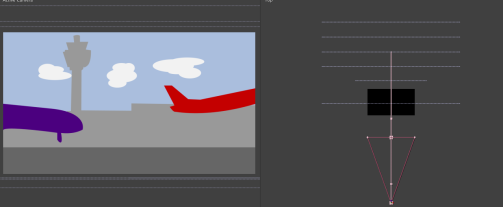
I then selected all the layers and toggled the 3d option. Each object now has three different dimensions.
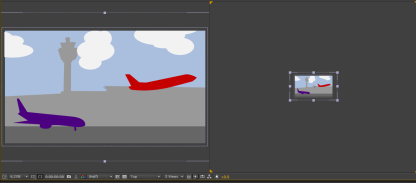
I then created two views of the screen by changing 1 view to 2 views – horizontal which gave two outlooks of the artwork. The screen with the yellow corner is the active screen.
From the two screens I zoomed out and used the right hand screen to adjust the artwork so that the artwork fit to the composition space. I did this by adjusting the x and y values. I then clicked ‘layer’ > ‘new’ > ‘camera’
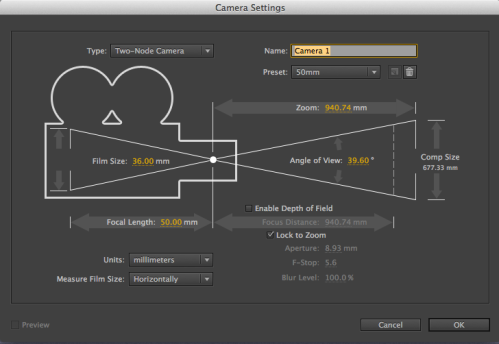
I changed the settings to ‘two node camera’ and a 35mm lens. I also deselected the depth of field.
I then moved each layer so that they were positioned apart from each other and I moved the camera out. I set the keyframe so that when I played the compilation it zoomed out on the scene slowly.
Creating a moving picture in After Effects
The aim of creating hand-drawn pieces is to animate fluently and sometimes ruggedly to create ‘moving pictures’; objects that stand still but are still full of motion.
To make this I chose a subject matter and drew three quick images which were all different slightly. I then imported these into After Effects and created a composition, layering these images on top of each other.
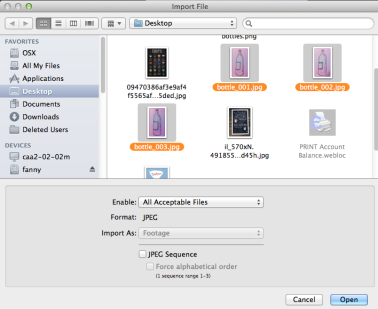
On the timeline I let each image show for a second by placing each section of animation one after another, so the images appeared in stages. Once I had done this for three seconds I copied each of the layers and pasted them so they filled the composition time, whilst always dragging the timeline points so that they were staggered across the timeline, resulting in the moving image shown above.
HD Rendering Rotoscope
Here we learnt how to complete a basic animation using a short video and rendering. We used the pen tool to draw round our figures and then repeated this to fit the animation. Once we had a short animation we then used solid fills to colour themask we had created, so that we had a figure which moved on a block colour canvas. A simplistic video , however a very confusing task.
Creating a moving portrait using After Effects
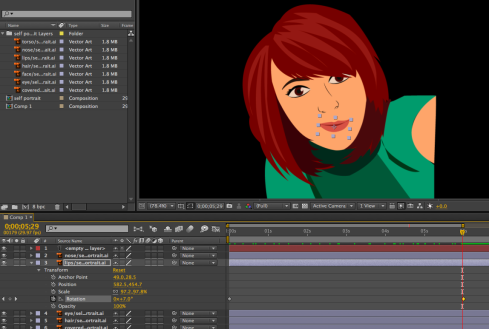
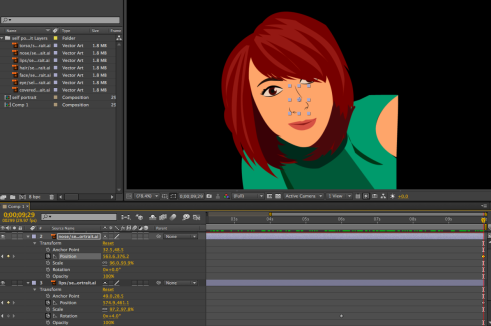
In this tutorial we learnt how to complete a moving portrait of ourselves using After effects.
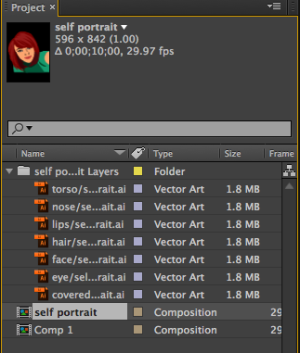
T0 do this I firstly created a portrait of myself in Illustrator, using the pen and fill tools creating a basic image. 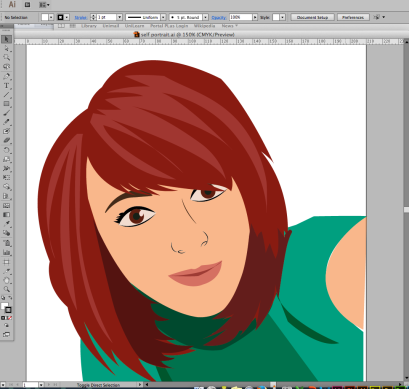
I then imported this into After Effects and created a new composition. Once I had imported it all the layers I had created for the piece were visible.
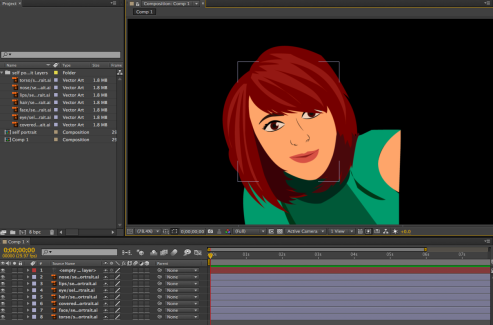
I then dropped these into the composition and sized them correctly so they loosely fit within the composition art board.
I then had to animate certain aspects of the portrait of that they moved slightly. To do this I selected the drop down list for one of the elements and clicked one of the stopwatches to start the animation. I then dragged the timeline across to the point in which I wanted it to stop and I adjusted the amount of rotation. This created another yellow key point and therefore animated the portrait.
I then repeated this with other parts of the portrait, making use of the rotate and position options to successfully move the head. Once I had finished my composition I added it to the render queue to create the final video.

