Personal wedding project – seat tags

IMG_0681.JPG


The venue for the wedding has a bandstand that seats 20 of immediate family, therefore to display seating positions I was instructed to create labels to stick on the back of the seats. I followed the same theme as the wedding invites and the same texts, as well as the heart shapes to continue the same theme, which is crucial in the creation of a wedding.


Personal Wedding project – order of service

IMG_0679.JPG

order of service


I created the order of service using the same text and graphics that I used when creating the invitations. I used the text that was emailed to me. The order of service will be given out when people enter the service and shows information of people involved and names of the readings, as well as a word of thanks. Below is the finished photoshop document and above I have taken a picture where I have backed the cream card onto the brown and cut out a heart shape at the bottom, which incorporates the colours and design of the invites.

Personal wedding project – table placements/favours

IMG_0678.JPG


photo


Here are the favours for the wedding which we also decided to use as place settings. The boxes are from hobbycraft and we needed to create 96 favours. The boxes could be assembled easily and came with a large amount of ribbon, which we have used to decorate both the table numbers and the table layout. I printed the tags and used a tag cutter to cut them out and a heart cutter to punch a hole.

Personal Wedding project – table numbers

IMG_0639.JPG


After completing the invitations for my brothers wedding, I was delighted that he asked me to also complete the table numbers, seat tags, wedding favours and the order of service. To create the table numbers I used photoframes that I bought from B&M at £2.99 for three frames (approx. £11.96 for all frames needed). My brother and his fiancee requested that each table number display a picture of each of them at that age. Using images that were sent to me I desaturated and placed them next to each other in photoshop, then printed them using photo paper. I then created the tag using the same text as used in the invite to keep continuity and a solid theme. The table numbers will sit next to the centerpieces, and I will be going to the venue on Wednesday to place the decorations myself.

Personal Wedding Project – Mass production!

image[4]


I have really enjoyed completing this personal brief towards my brothers wedding, it has been difficult yet rewarding, and it has definitely given me a brief taste of a future production job in the design industry. I find this type of practice to be beneficial to my work in a later life, where I could be working with mass production teams. If I could improve this project next time I would test the prints more first before printing, as this proved a problem with the wasting of paper. I would also try and source resources from cheaper places, as the project proved to be quite pricey. However I am looking forward to maybe completing more projects like this in the future that I can improve on.

Personal Wedding Project – Envelope designs

I ordered envelopes online in a creamy yellow colour to match the invites. As I felt the envelopes were rather boring, we decided to experiment with the scrap hearts that had been cut out of the tags. We used larger brown hearts and smaller yellow hearts to create the motif in the corner of the envelope, which is subtle,however it compliments the design as it matches the heart shape on the tags. We also cut out a heart shape on the back point of the envelope and covered it on the inside with a large brown heart, so that the brown paper is seen through the card in a heart shape when opened.

Personal Wedding Project – Final invite

image[21]


Here is an image of the final invitation put together, with all the components stacked and tied together, including the tag. I am very pleased with my design; I feel that it is successful and looks elegant and different, as well as being more interesting than plain text on a page. I feel like it is a novelty part of the wedding that people will want to keep.

I presented the final design to my ‘clients’ and they approved of the design and were ready for me to print off the remaining invites. Me and my brother even made up one of the invites and hand-delivered it to my nanna; she approved of the design and thought that is was clever, inventive and well designed. I am happy to have received this feedback and I feel it is a vital part of the design process to gather improvement ideas and advice.

Personal Wedding Project – Final designs for invitation components

Here are pictures of my final designs of all the components for the invitation. I have alternated between the yellow and brown paper, as yellow is the theme of the wedding and brown gives a vintage feel, and is popular for designs. I used a guillotine to cut the card and I have attempted to cut them so that they will appear the same size when stacked together. I also re-did the tags and gave them a new style.

Personal Wedding Project – creating mock ups

I decided to test out my invitation designs on the paper I would be using for the final design. I tested this twice, once on yellow paper and then on brown, however as the opening invite is special I decided to print on brown paper and then back the brown card onto yellow. I will also alternate the other pages between the yellow and brown, and I plan to stack these on top of eachother.

I also experimented with tags, as my client wanted some form of element tied to the front of the invite. I had purchased tag cutters and heart cutters from Hobbycraft, therefore I experimented with shape text and position. The bride decided that she preferred for a small heart to sit in the corner of the tag, with a simple holepunch at the top, and for the text to match any on the original invite.

I felt this experiment was successful and I will now complete the other parts of the invite.

Personal Wedding Project – My designs for the invite pages

Here are my final designs for the wedding invitations. The wedding is in September, so this has proved to be a very short brief due , therefore I have only had time to create the final piece. I decided to use a vintage styled border as I felt this added effect to the designs. I used vintage scrolls and texts to keep with the classical look that was wanted, whilst also keeping to the idea of using different pages to make up the whole invitation. Also, the bride and groom decided that they wanted the R.S.P.V card to be a postcard, therefore I have also designed a front and back which I will print together.  To test my designs, I will now experiment with printing them on regular paper to get a feel of the sizes and if there is any need for any alterations, before printing them on brown and yellow paper, which I will then pitch to the bride and groom before I print all the designs.

Wedding Project – Gathering resources for the designs

Here I have experimented with different fonts to decide if I would like to use them in my wedding invitation designs. I downloaded fonts which looked classical/vintage, and a variation of ones I would use for the titles and for the bodies of texts. I also downloaded various vintage wedding graphics to experiment with on my designs.

Personal Wedding Project – Summary of consultation

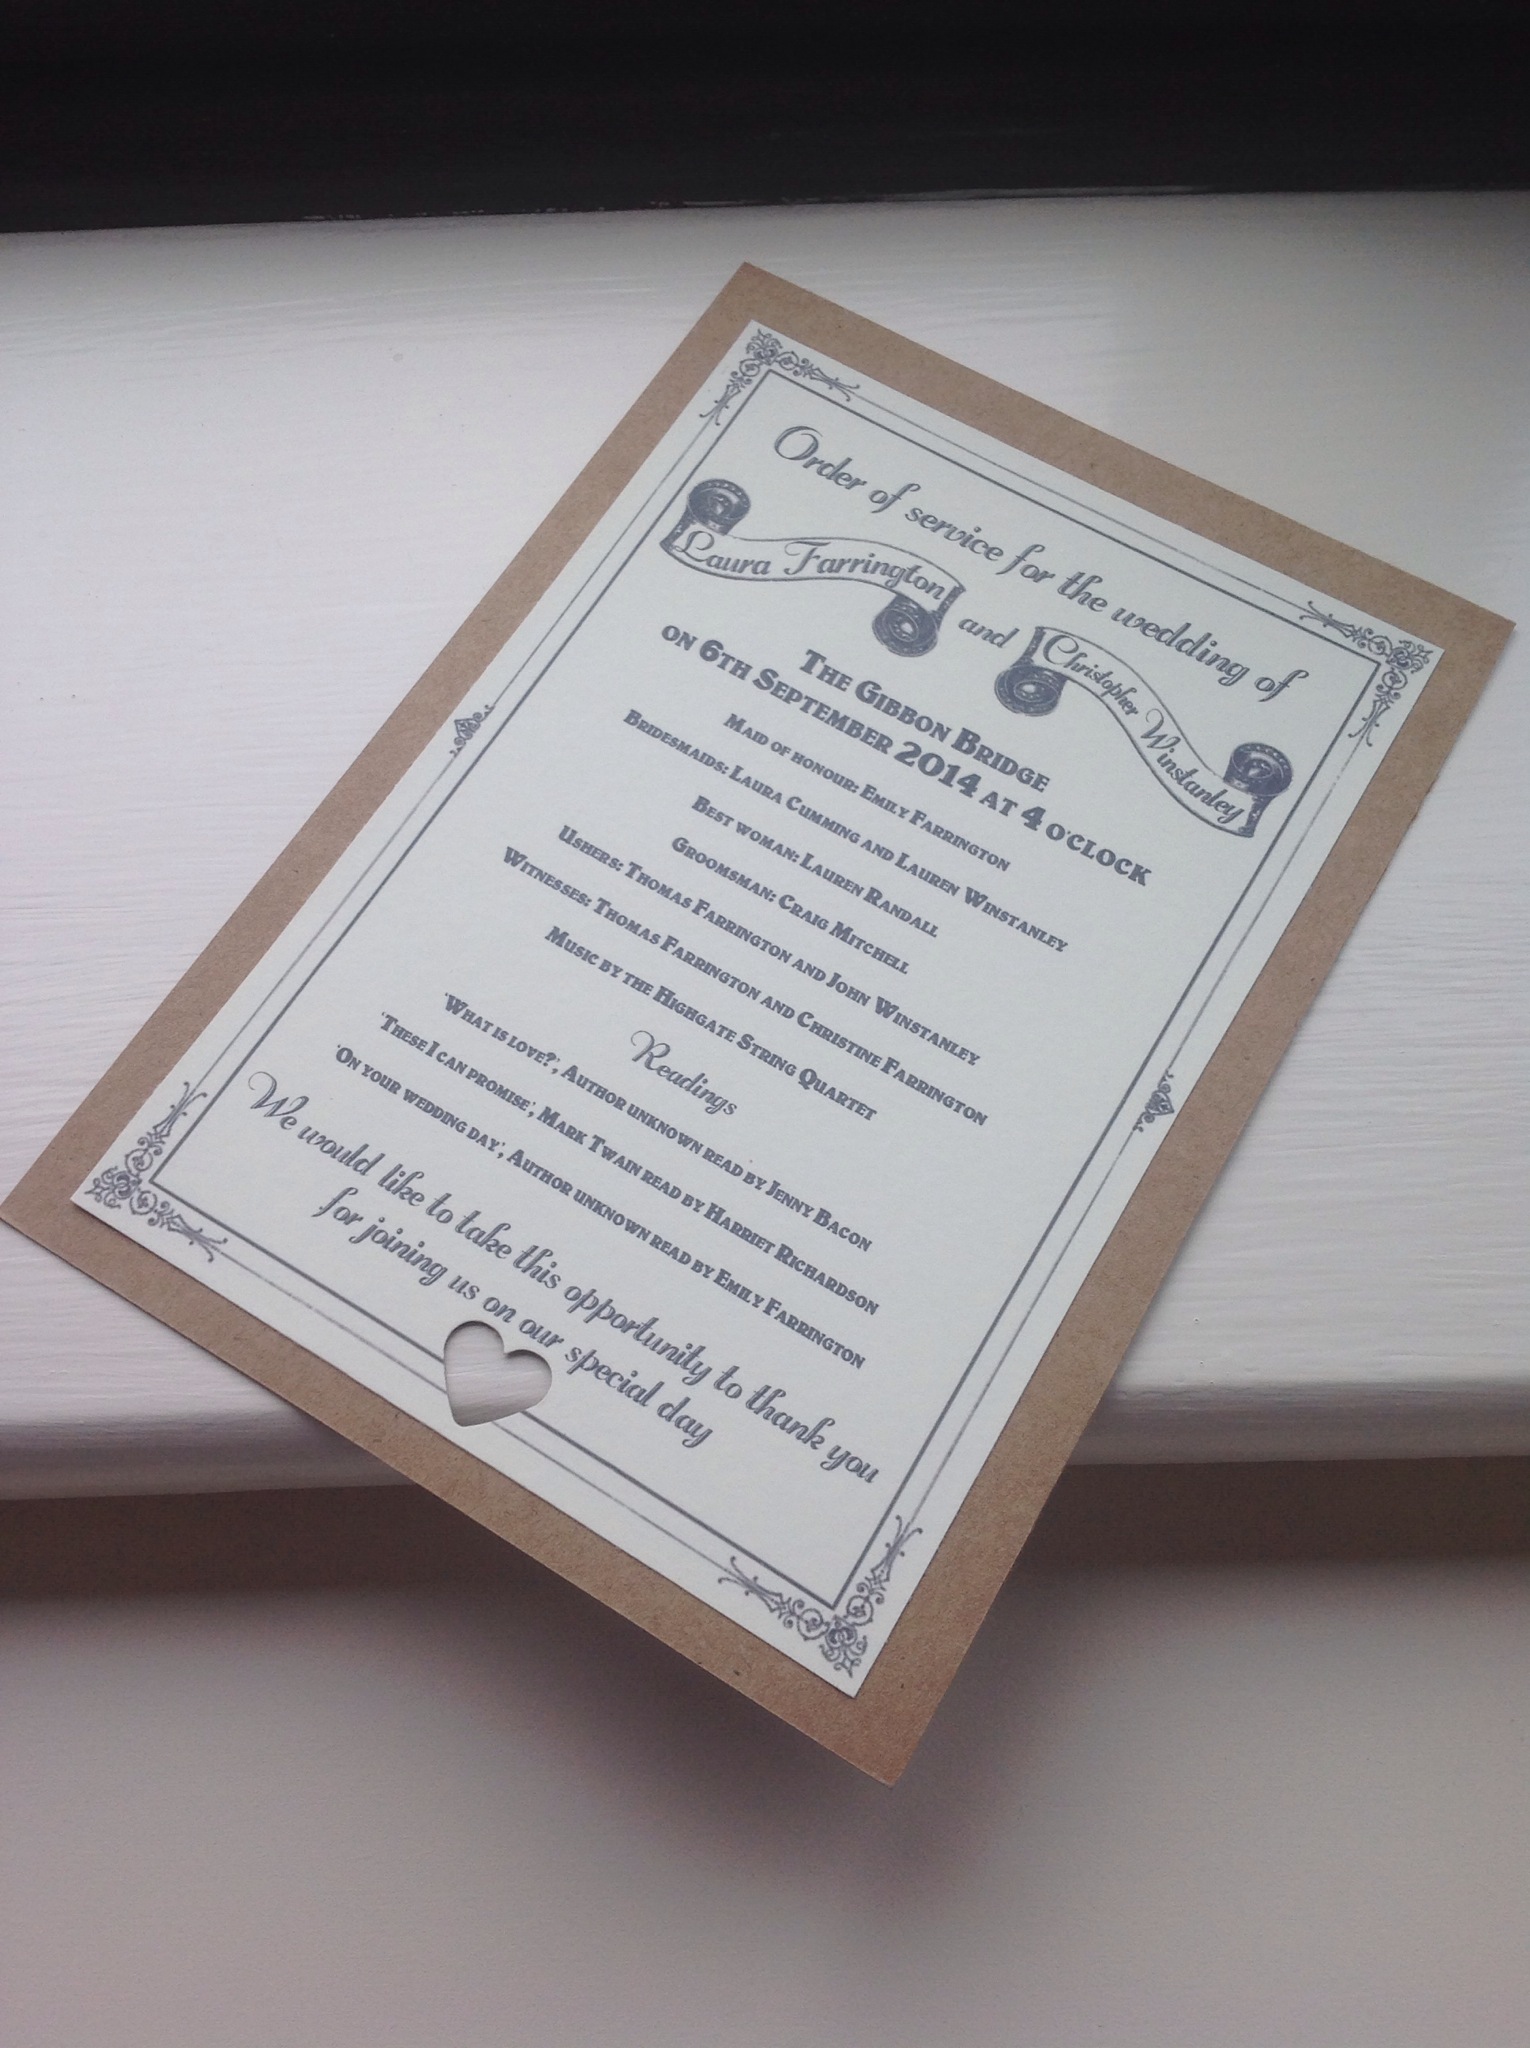
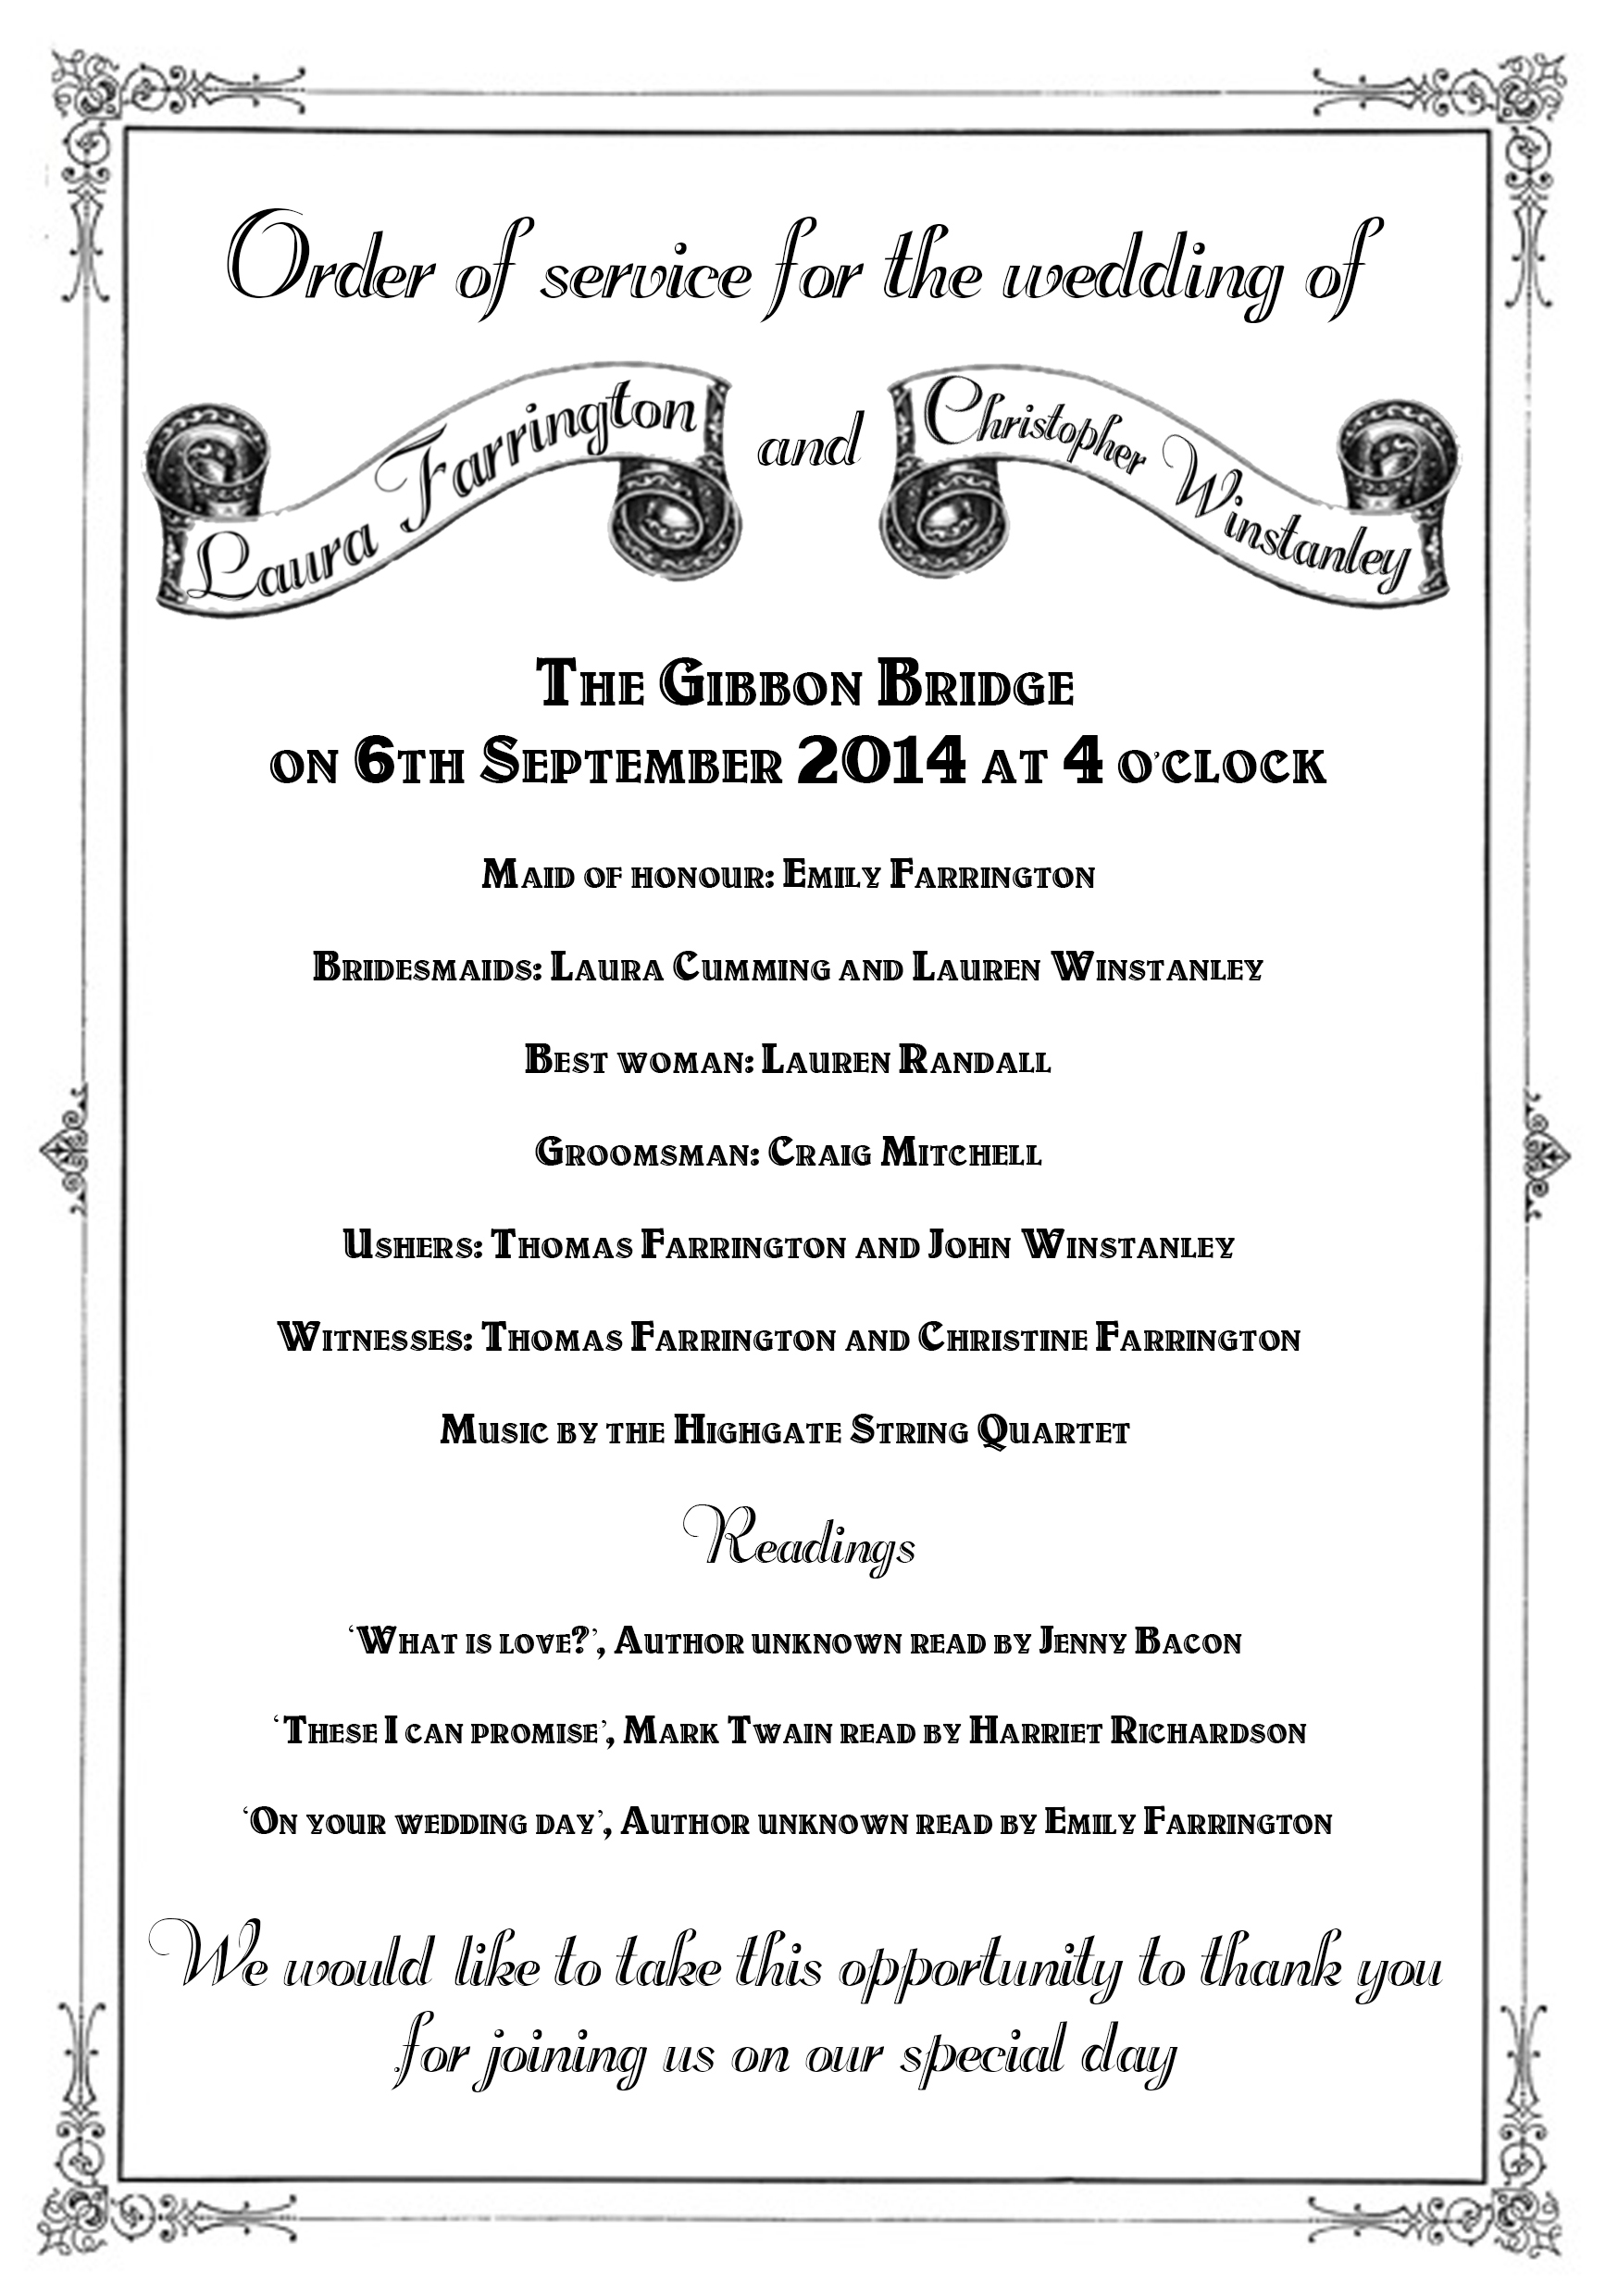
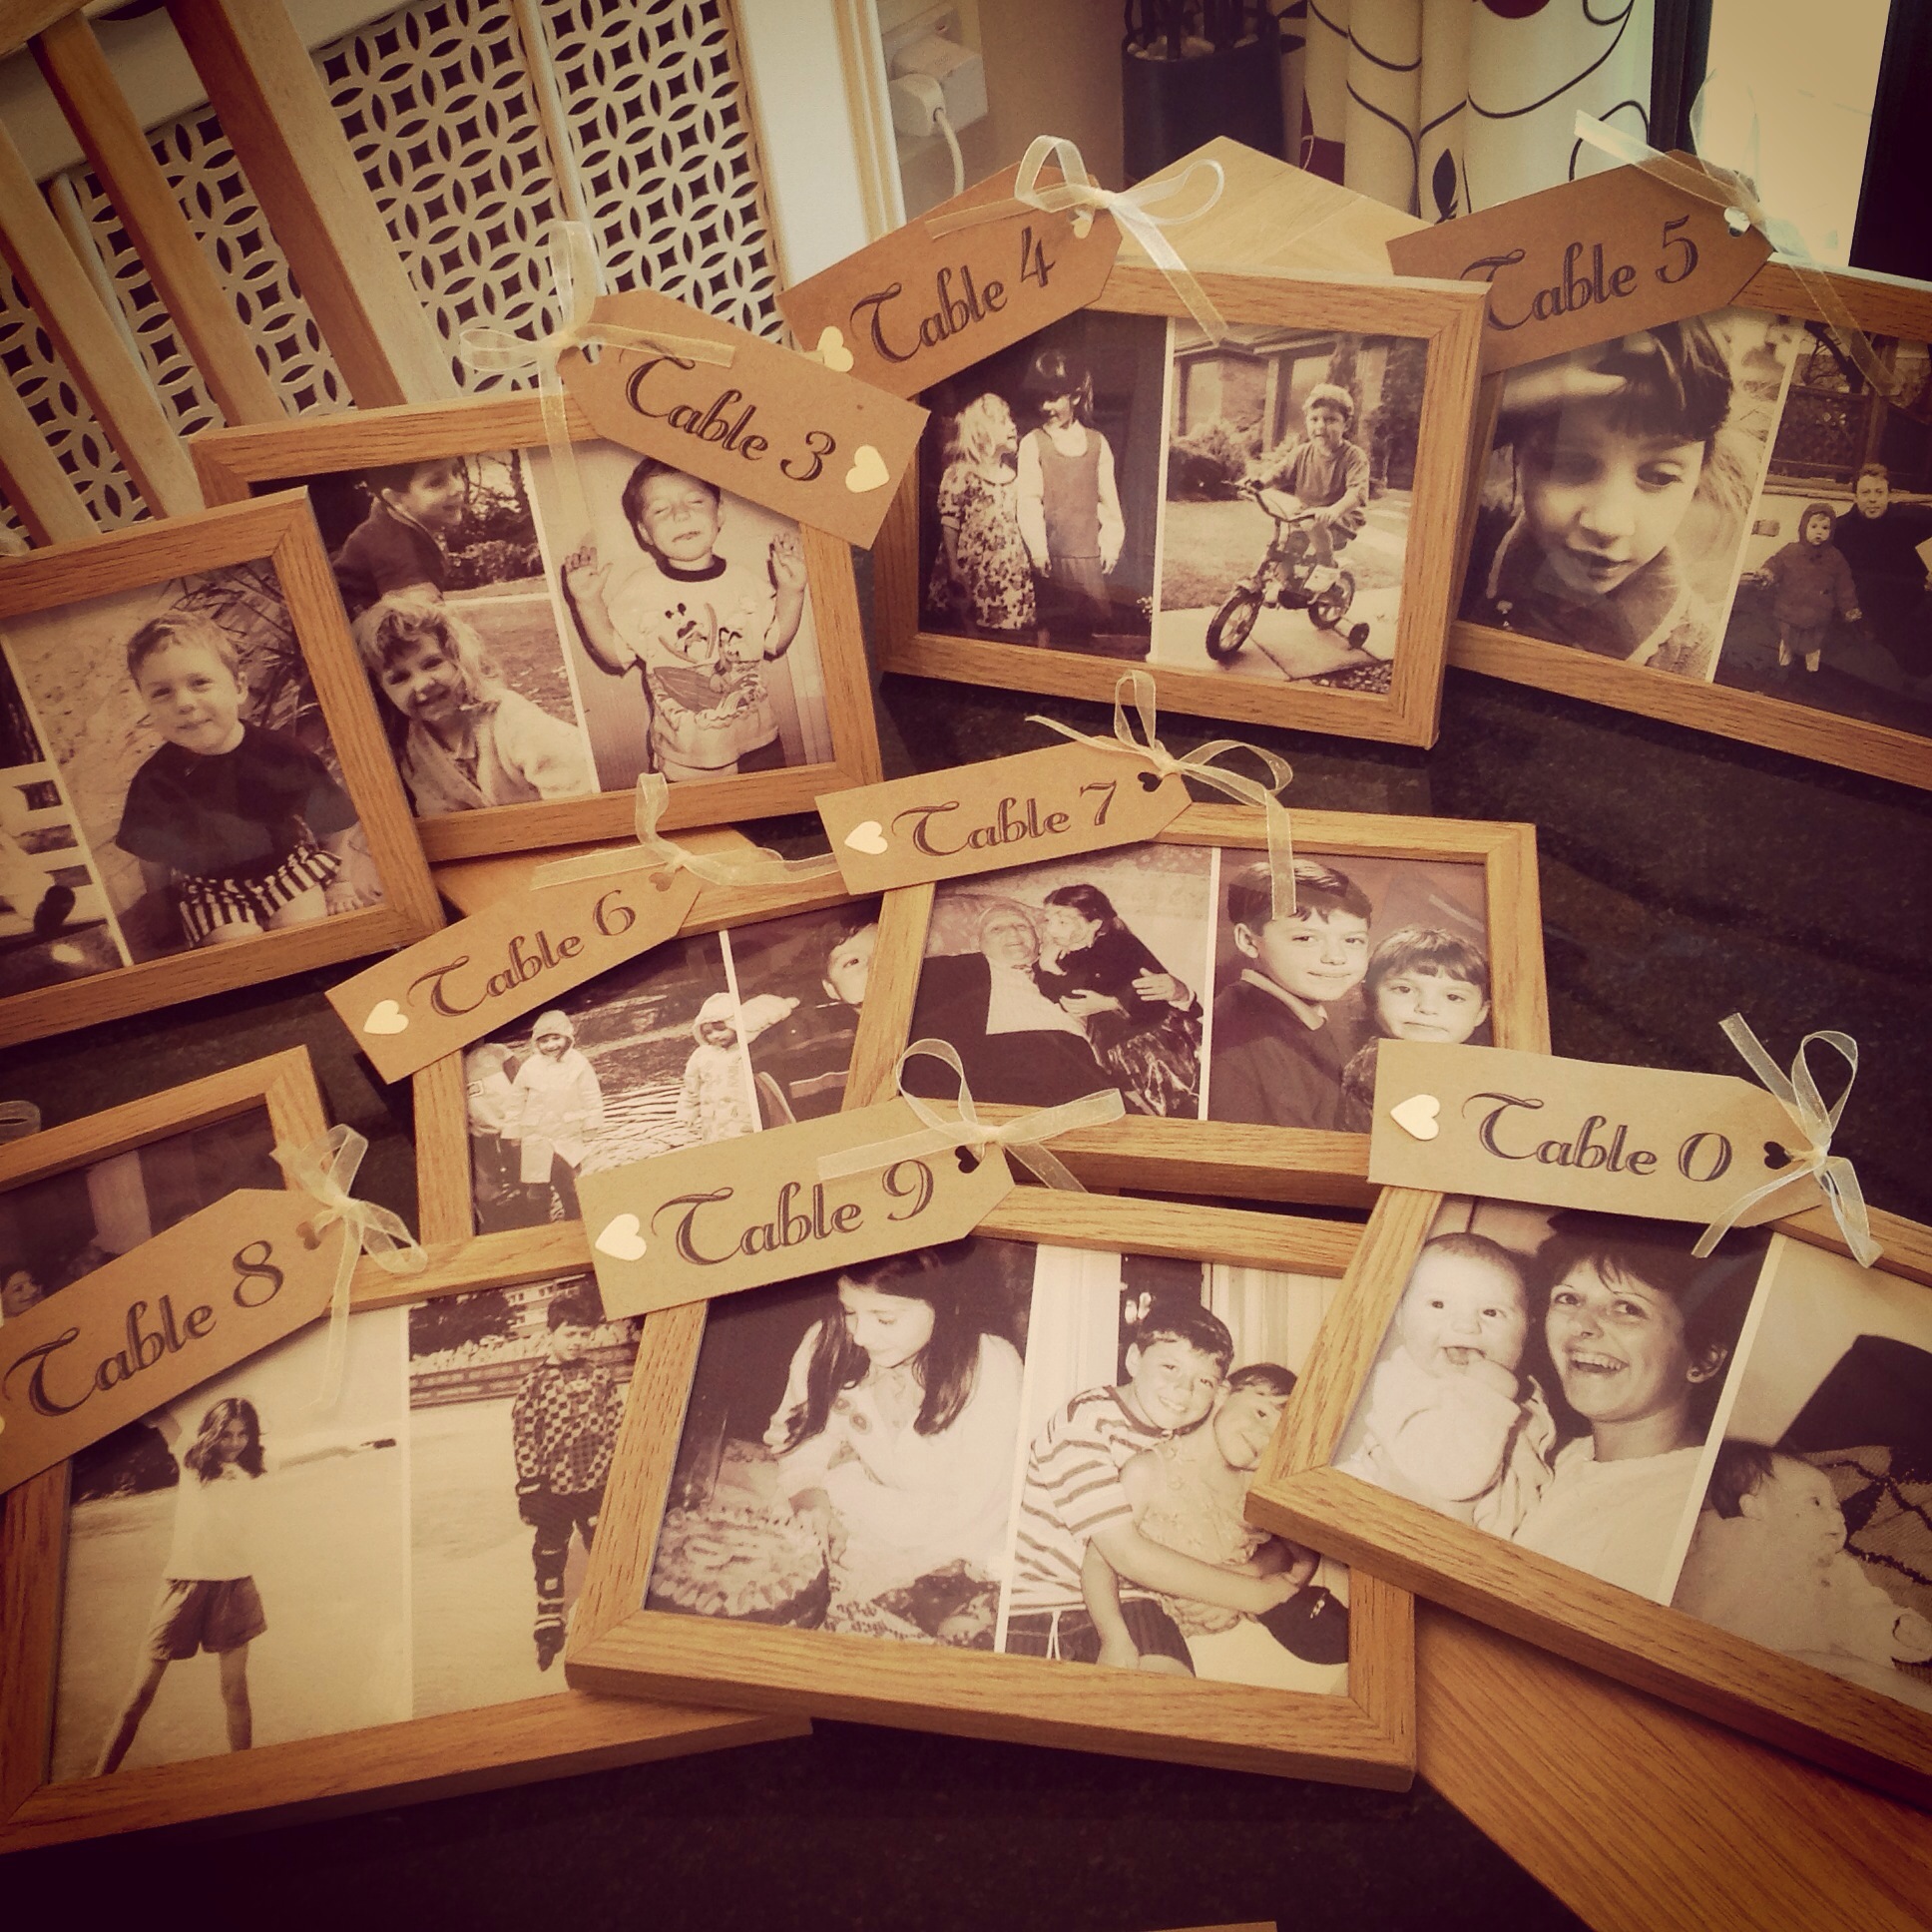
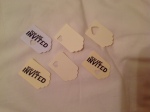
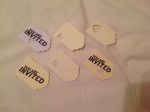
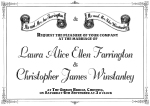
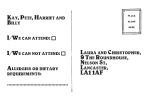
After discussing the invites and presenting my mood board to the bride and groom, we decided on key factors that would help me to design them. The main colour of the wedding is light yellow, therefore they wanted to incorporate this into the design, however they also favoured the idea of using brown paper; this is a common use in graphic design nowadays, and it gives off a welcoming, old type feel. They decided that they liked classic, vintage styled fonts and graphics, as well as borders. They also favoured the idea of the invite being split into seperate pages, and an idea we discussed thoroughly was stacking the pieces on top of each other and using string to connect them all, as this is a bit more interesting than having all the information on one page. Aswell as this, I will experiment with a small feature to tie onto the string; like a tag or a small shape.

This consultation has been very useful for me as it has given me the experience of an ideas discussion with a real client, which is something I will have to do if I am able to achieve a job in the graphic design industry.

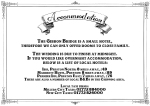
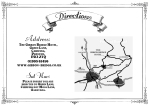
Below I have devised a smaller, secondary moodboard of developed looks that we discussed according to the bride and groom’s preferences:


Personal Wedding Project – Moodboard

Image


Here I have created a moodboard of general ideas for wedding invitations. I will be presenting these ideas to my brother, and will create initial designs based on his and his fiancee’s descisions on styles and colours. I want to be able to create a decorative invitation, however I would like to create something within my creating capability and price range, as I may not be able to afford all methods. I would love to be able to create something which pushes boundaries and that shows off my capabilities as a graphic designer.

Personal Wedding Project Brief

My brother Christopher will be getting married on the 6th September this year. In preparation for his wedding, he has asked me to design the wedding invitations. I am very excited about this project as it is very important and personal for me, and I love to complete custom designs. It will also give me a chance to practice my skills and methods when working with future clients, therefore I am treating this as a live brief, to experience working towards a deadline. I will be creating a mood board to pitch my ideas, as well as delivering their feedback. I will create initial ideas of styles and designs, before refining these ideas and then creating. I will choose suitable materials and creation techniques, as well as experimenting with typography  and design. I am pleased at receiving this project as I can experience using my work in a clientele style situation and I am happy that I can complete this at an event that is very important to me.