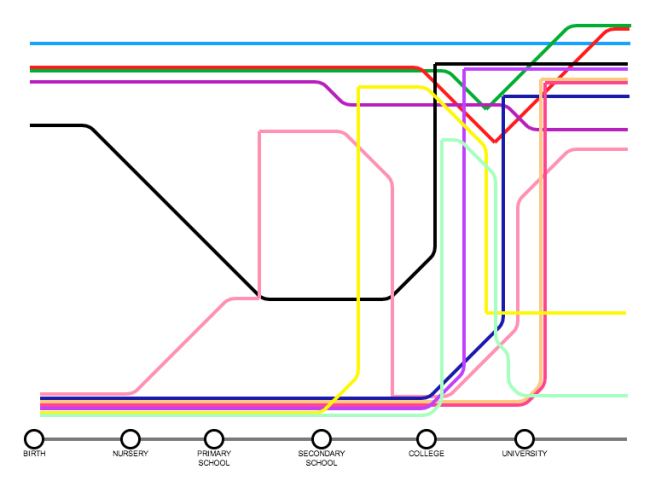
For our task in Design Practice 2 we were instructed to create a piece of info-graphics which described various relationships throughout our lives. Here I decided to create my piece in the style of a tube map, which not only describes the relationships through the height of the lines (highest being a good relationship) but also describes my relationships as a journey. I used different colours to distinguish between different lines and I have measured my relationships from when I was born and through my school years, as I associate my relationships with these particular periods the most. I found this task not only interesting but theraputic, however at times I also found it difficult.
Category Archives: John & Tracy’s Tutorials
Design Practice 2 – Creating our cardboard toy
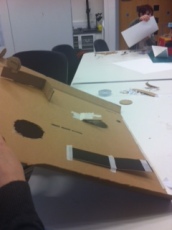
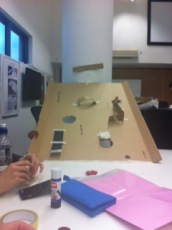
These are photographs I have taken as part of our Design Context 2 2nd Brief, which explores imagination and creativity, and the idea of creating varying emotion through the creation of such simple toys. In my group we created a slope with various features and holes, in which when we sent a toy car down it interacted with different features of the slope depending on where the car travelled. I feel that the toy definitely conveyed emotions of surprise as to where the car fell, joy if the car reached the bottom and disappointment if the car fell any way into the holes. I feel that the toy was interesting as we used the build of the creative arts building to construct our design. I think to improve on it in the future we could add colour and a few more features and make the slope less steep.
The tutorial was inspired by Caine’s Arcade, a world of games created completely out of cardboard by a nine year old boy at his dads auto-parts store. The film went viral overnight and the arcade is now world famous with frequent visitors. He spent months perfecting his games arcade, even including a fun pass and t-shirts. His first customer was Nirvan Mullick, who loved the arcade and created a film about his work.
Exploring Colours in images
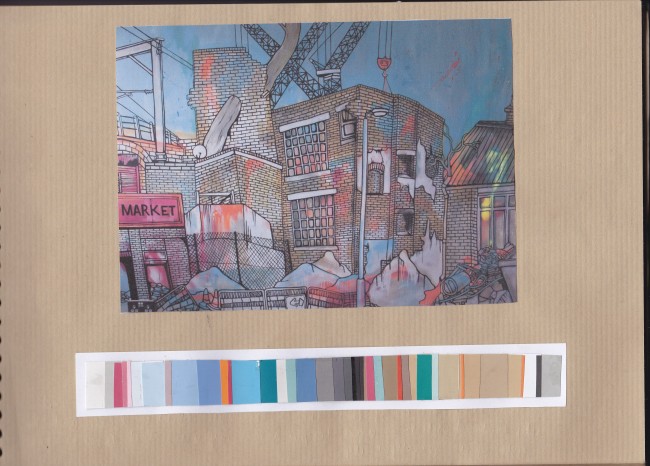
In our recent tutorial we learnt about colour strips and capturing blocks of colour in images. In our session we used paint sample booklets and brought in an image of our choice from an artist we have studied. I identified each colour that was used in the image and matched it with colour blocks in the paint book, then cut them out. To assemble the colour strip I glued each piece together, however I spaced each piece of colour according to how much or how little colour was used. This showed the correct distribution of colour and how the colours worked together on the page. I also added smaller bits of colour to more larger spaces of colour to show the random colour patches seen in the picture. I found this exercise very useful as it allowed me to understand how colours are put together in an image and also helped me comprehend the amount of colour that needs to be considered when looking at a piece of work

